Creating a Custom Map Style in MapMetrics
With MapMetrics, you can fully customize the appearance of your maps using the Studio. Follow these steps to create and manage your own map style:
1. Access the Studio
- Go to portal.mapmetrics.org.
- Select Studio from the sidebar to view your existing map designs (if any).
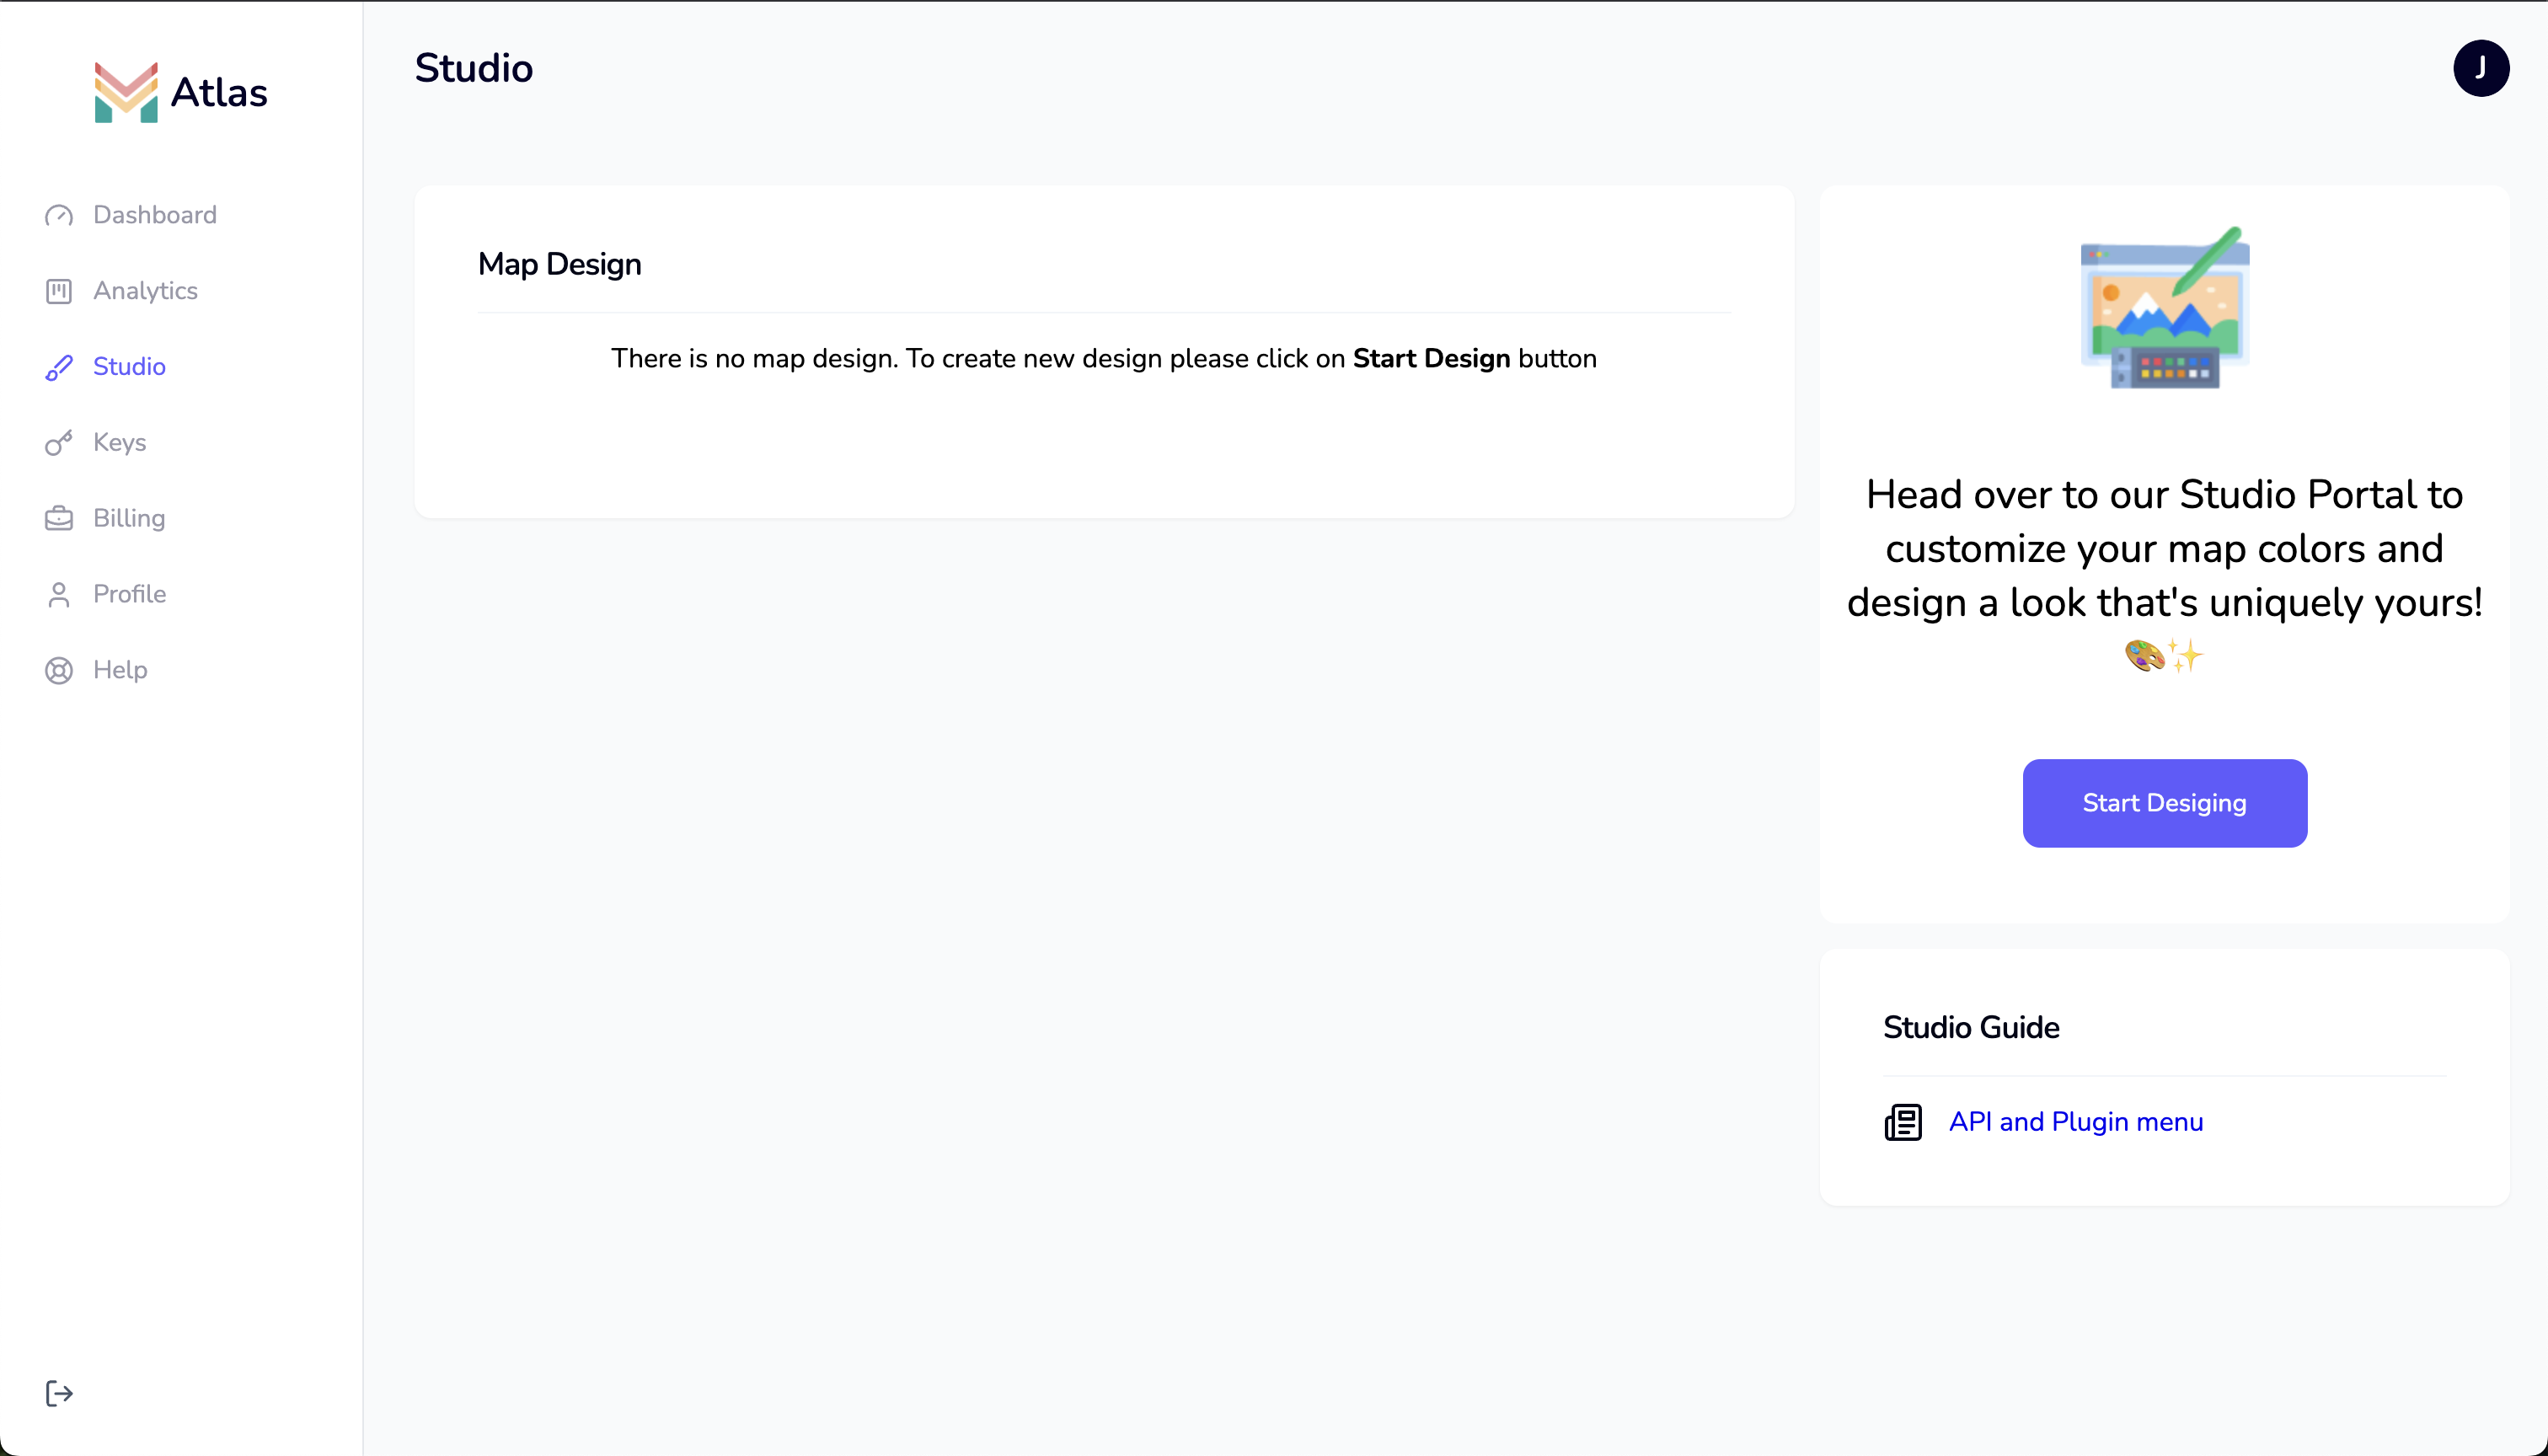
2. Start a New Design
- Click the Start Designing button to begin creating a new map style.
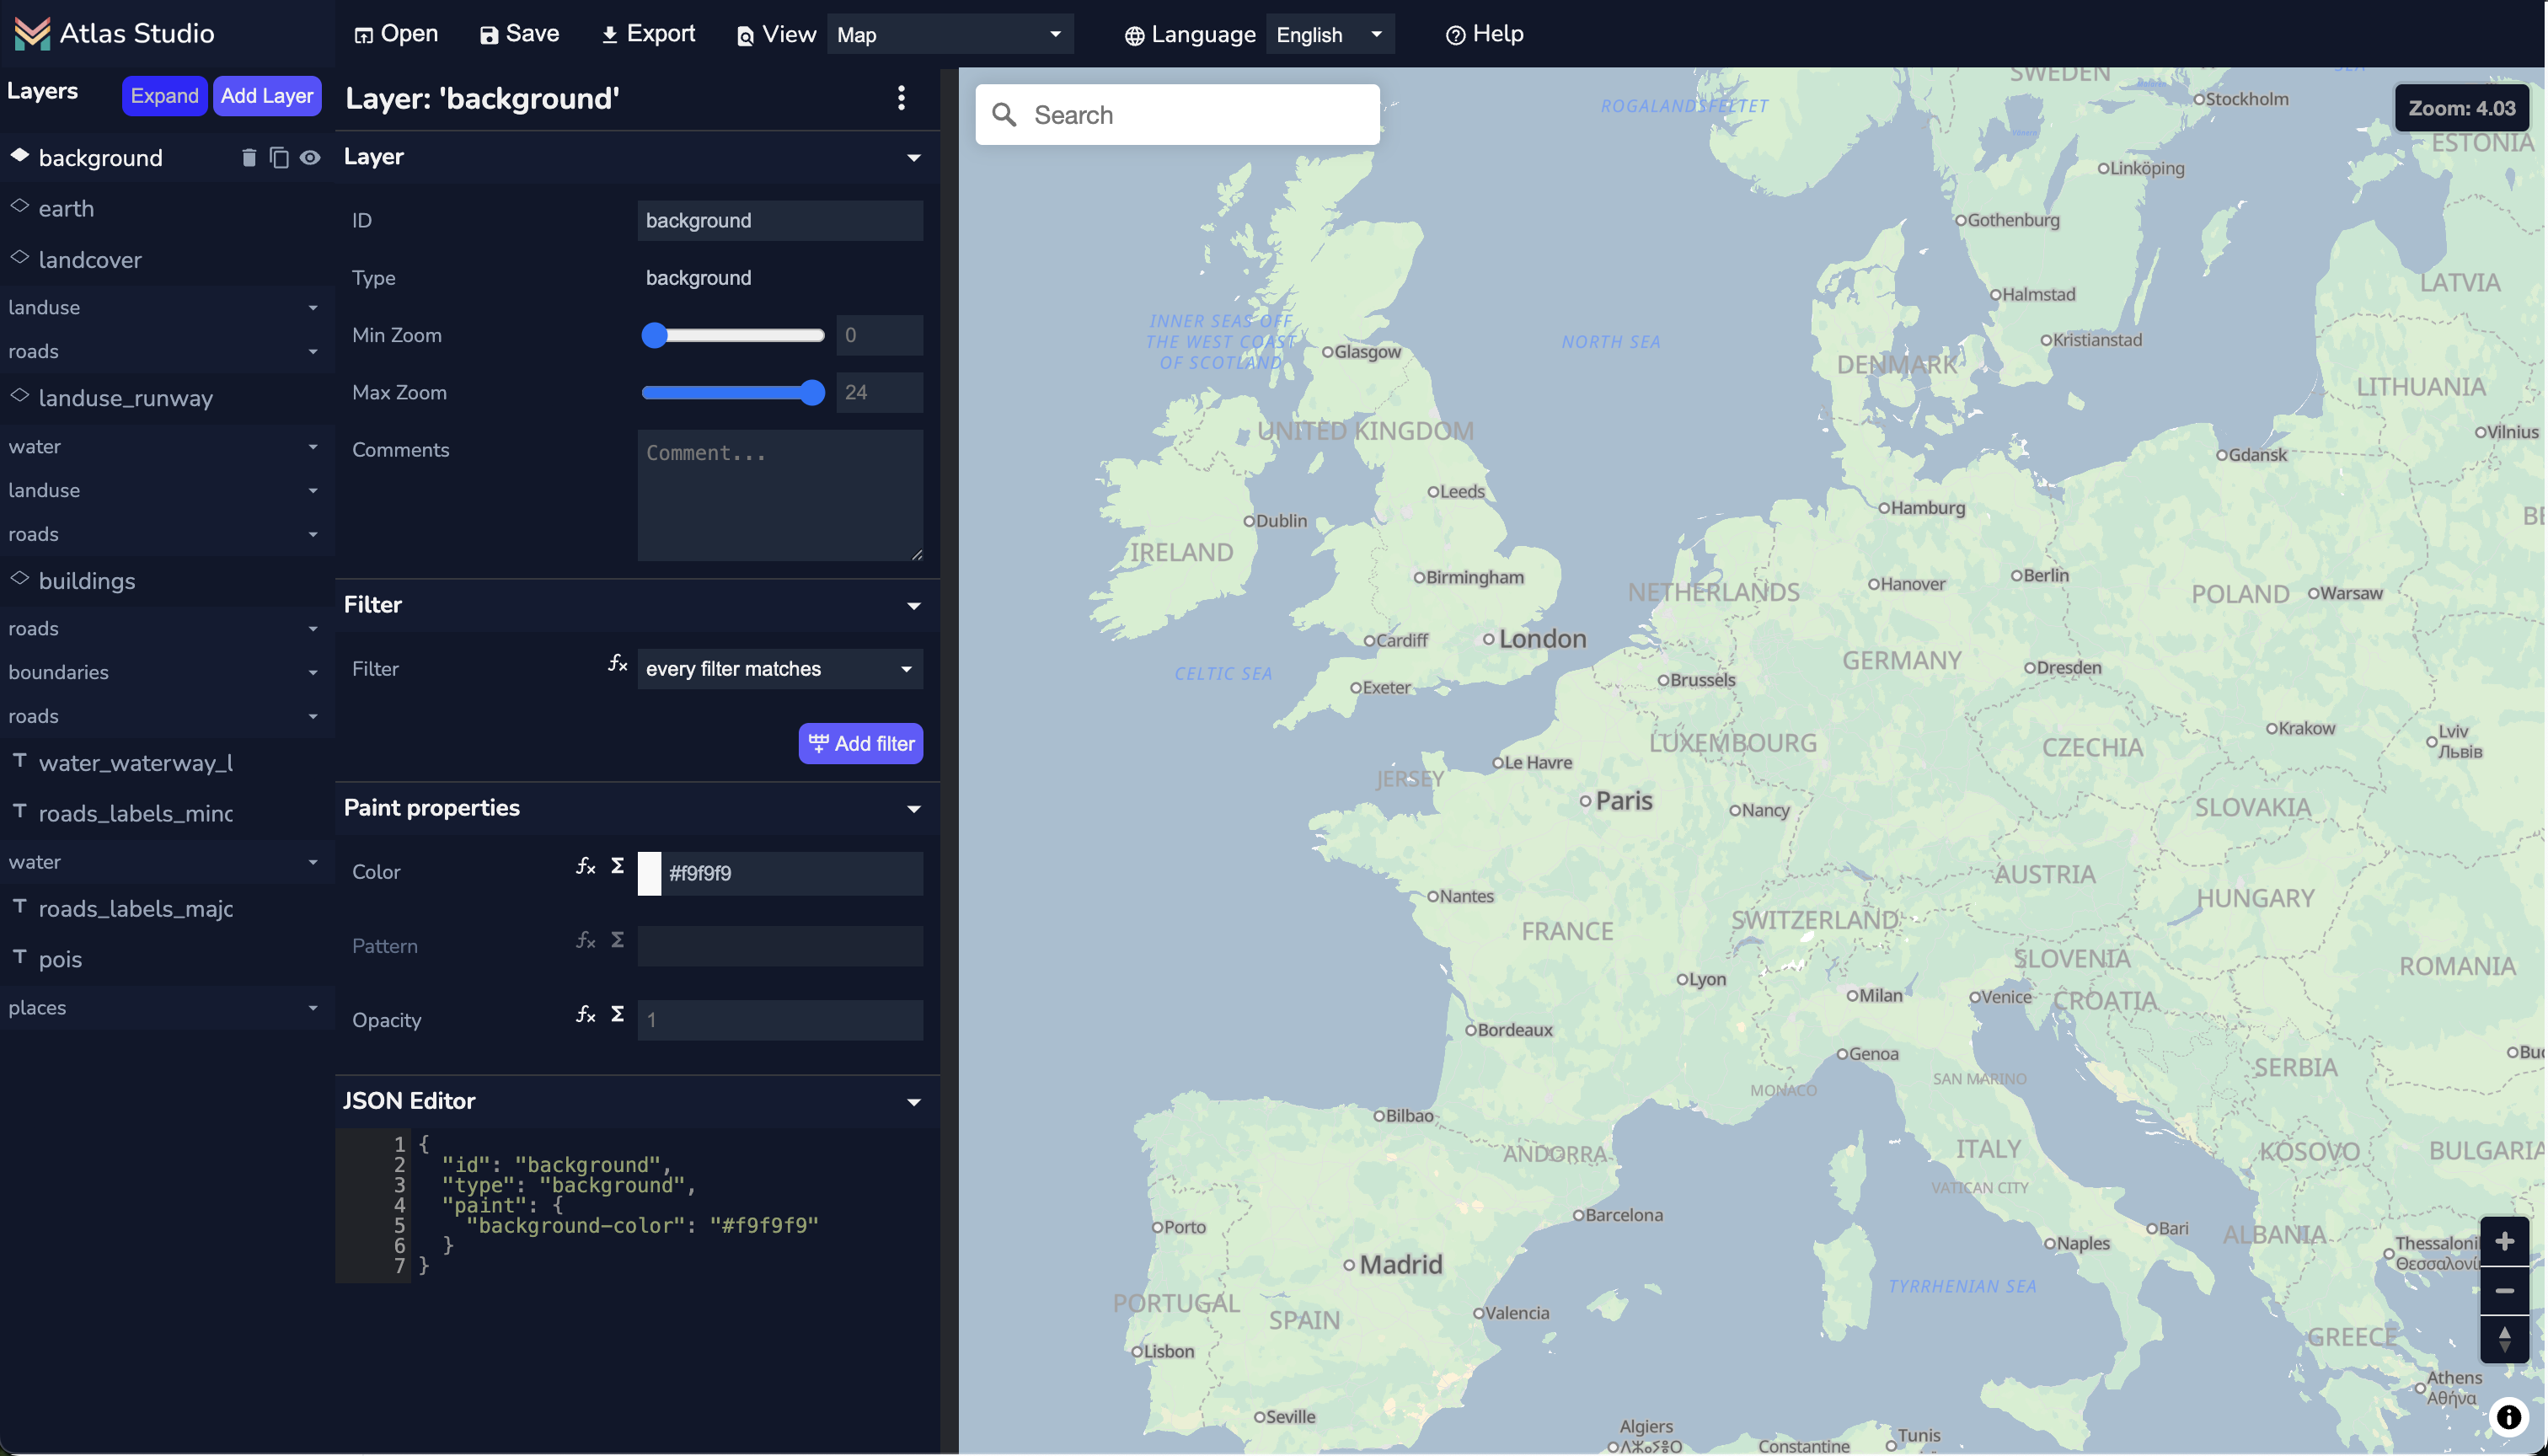
3. Design Your Map Style
In the Studio Portal, you can:
- Open your own styles or explore templates
- Edit all map layers (roads, water, buildings, etc.)
- Adjust colors, fonts, icons, and visibility for each layer
- Make changes according to your preferences.
4. Save and View Your Style
- When you are satisfied with your design, click Save.
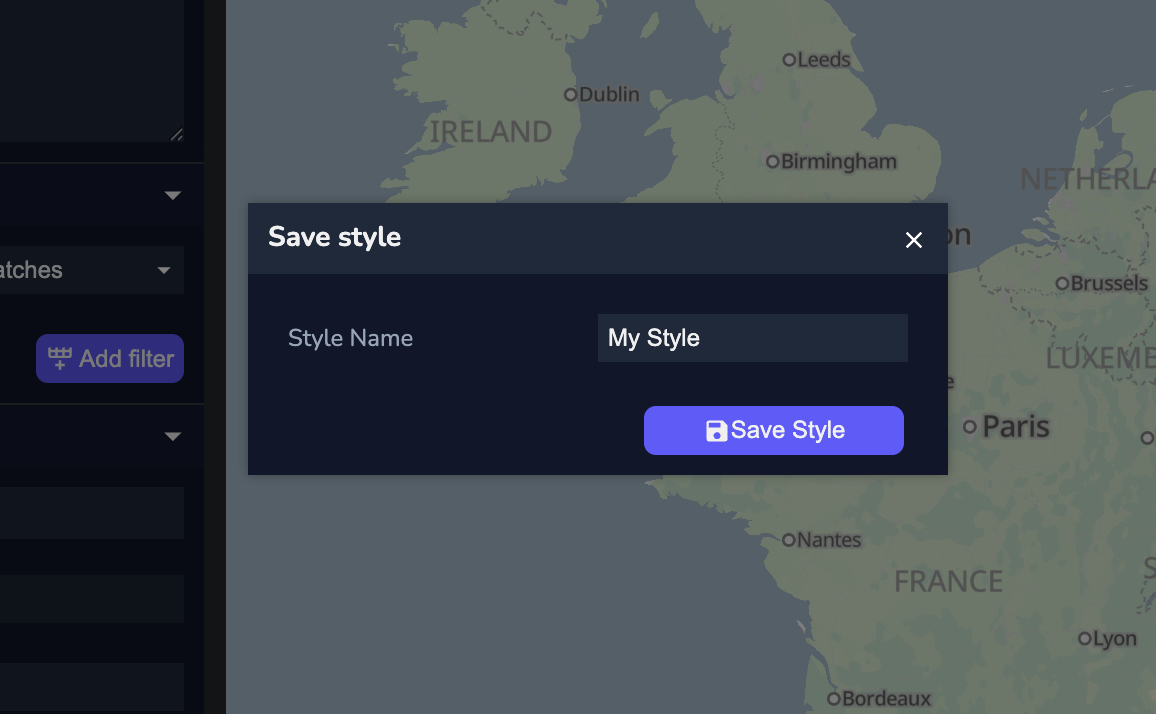
- Your new style will be saved and will appear in your portal.
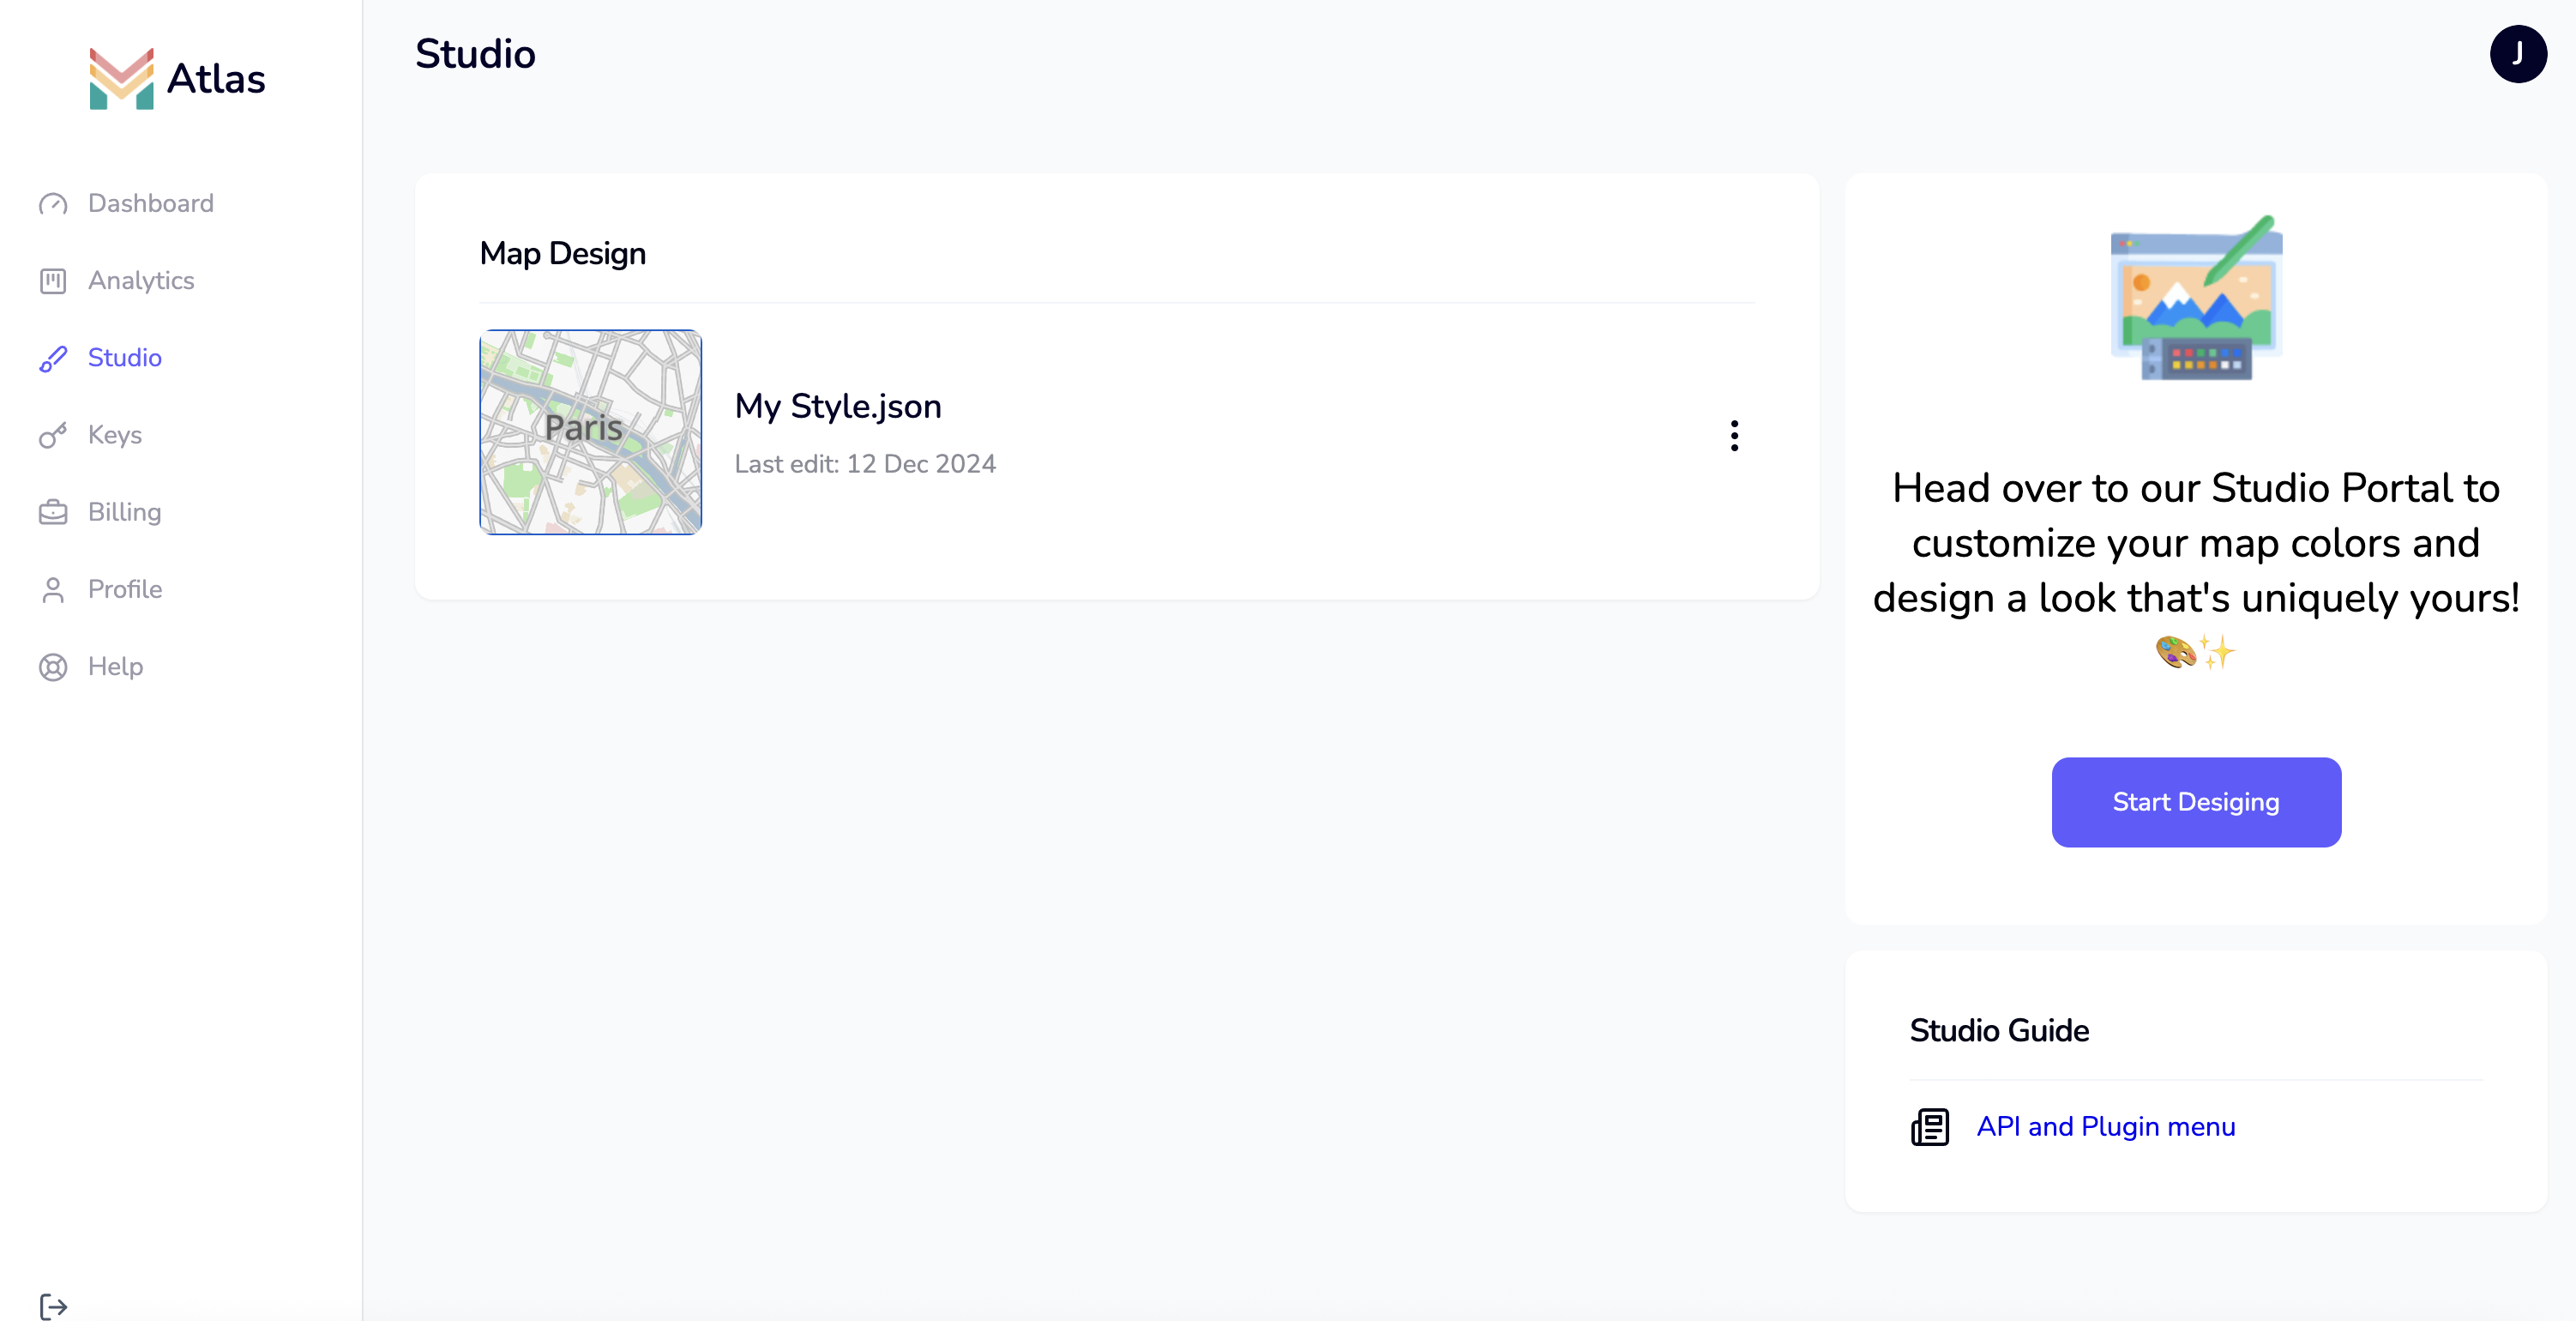
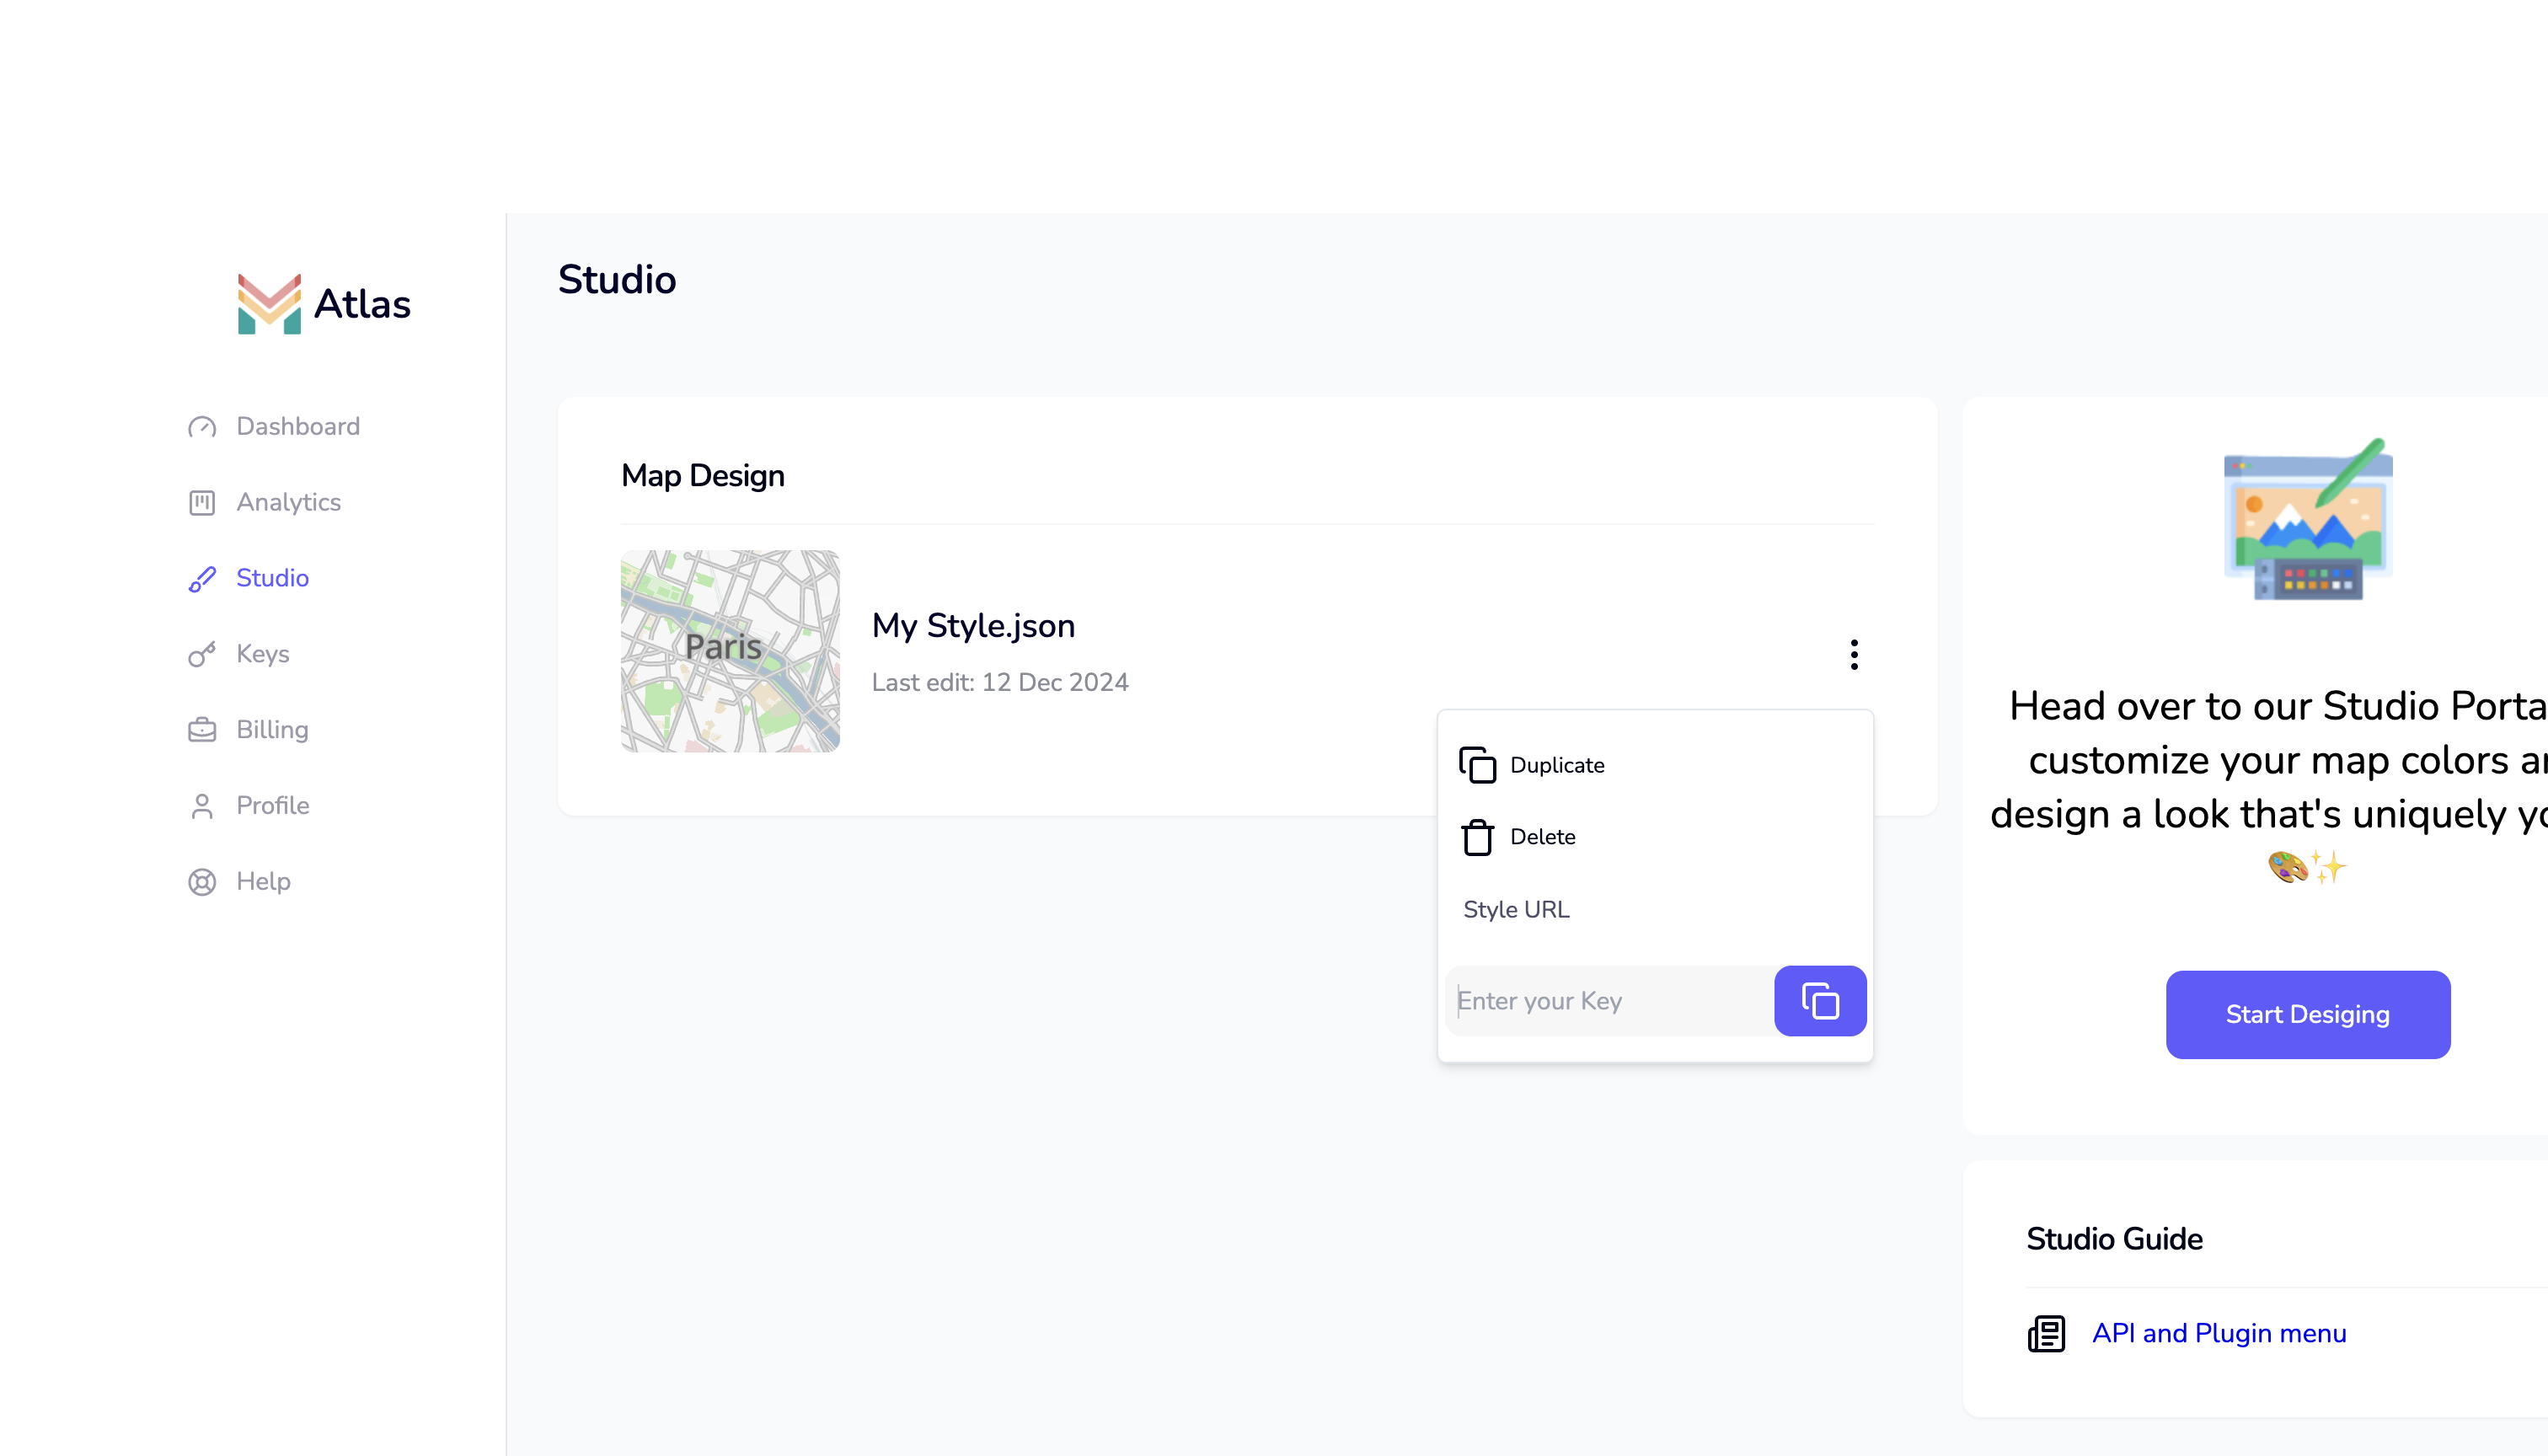
5. Manage and Share Your Style
- Click the menu (three dots) on your saved style to:
- Open and edit the style
- Delete or duplicate it
- Generate a style link to use with your API key (see the previous chapter)
Congratulations! You have now created a custom map style and linked it with your API key. In the next chapter, you will learn how to use your style and key in your application.
text
https://gateway.mapmetrics.org/styles/<Style_ID>?token=<Your-MapMetrics-Access-Token>